

A dead Nintendo Switch can ruin the mood fast. One minute you are ready to play. The next, the screen is black, the battery icon is missing, and the charger seems useless.
The good news? Most charging problems are not serious. A drained battery, a stuck sleep state, a loose dock cable, or a tired adapter can make the console look dead.
This guide covers Nintendo Switch Won’t Charge: 8 Quick Fixes in a clear order. Start with the simple steps first. Do not open the console unless you know what you are doing. You may only need 30 minutes, the right adapter, and a clean USB-C port.
Before You Start: Check These Basics First
This guide applies to Nintendo Switch, Nintendo Switch Lite, and Nintendo Switch OLED Model. The dock steps do not apply to Switch Lite because it does not work with the TV dock.
Before trying anything else, do three quick checks:
- Use a wall outlet, not a weak USB port on a TV or laptop.
- Remove any case or grip that blocks the USB-C connector.
- Look for obvious damage on the charger, cable, dock, or charging port.
If the console feels unusually hot, smells burnt, has a swollen back, or shows signs of liquid damage, stop charging it. That is not a normal charging issue. It needs professional repair.
Nintendo Switch Won’t Charge: 8 Quick Fixes at a Glance
| Fix | Best For | Time Needed | Difficulty |
| Reset the AC adapter | Charger suddenly stopped working | 1 minute | Easy |
| Force shut down the console | Black screen or frozen sleep mode | 1 minute | Easy |
| Charge directly from the wall | Dock or outlet doubts | 30 minutes | Easy |
| Use the correct adapter | Slow or no charging | 2 minutes | Easy |
| Inspect the USB-C port | Loose cable or no icon | 3 minutes | Easy |
| Test the dock and cables | Charges handheld but not docked | 5 minutes | Easy |
| Update or recalibrate battery | Wrong battery percentage | Several hours | Medium |
| Know when to get repair | Port, battery, or board issue | Varies | Service needed |
1. Reset the AC Adapter and Try Again
A Nintendo Switch charger can stop responding after a power hiccup. The fix is simple: unplug it from both ends and give it a short reset.
Remove the AC adapter from the wall outlet. Then unplug it from the console or dock. Leave it unplugged for at least 30 seconds. After that, plug it into the wall first, then into the Switch.
Do not use a power strip for this test. Go straight into a known working wall outlet. This removes one more possible problem from the chain.
If the console shows a battery icon, leave it alone for a while. Do not keep pressing the power button every few seconds. That can interrupt the recovery process when the battery is almost empty.
| What to Check | What It Means | What to Do |
| Adapter was warm but not charging | It may need a reset | Unplug both ends for 30 seconds |
| Outlet may be faulty | No power is reaching charger | Try another wall outlet |
| Battery icon appears | Console is receiving power | Charge for 30 minutes |
| No icon at all | Adapter, port, or console may be faulty | Continue to the next fixes |
2. Force Shut Down the Console
Sometimes the Switch is not dead. It is stuck. A frozen sleep state can make the screen stay black even when the system still has power.
Hold the POWER button for 20 seconds. Release it. Then press the POWER button once.
This does not delete your games or save files. It is only a forced shutdown. Think of it like turning off a frozen laptop.
After the forced shutdown, connect the charger directly to the console. If the battery was deeply drained, the screen may stay blank at first. Watch the top-left corner for a small charging symbol.
This is one of the most useful steps in Nintendo Switch Won’t Charge: 8 Quick Fixes because it solves both charging confusion and black-screen panic.
| Step | Action | Expected Result |
| Hold POWER | Press for 20 seconds | Console fully shuts down |
| Release | Wait a moment | System resets power state |
| Press once | Tap POWER normally | Console may turn on |
| Charge | Plug in directly | Battery icon may appear |
3. Charge Directly From a Wall Outlet for 30 Minutes
The dock adds another layer. So do extension cords, adapters, USB hubs, and weak power sources. Remove them all.
Plug the Nintendo Switch AC adapter directly into a wall outlet. Then connect it straight to the USB-C port on the bottom of the console.
Now wait at least 30 minutes.
This matters because a fully drained Switch may not turn on right away. You may see a tiny battery symbol for a moment, then a black screen. That does not always mean failure. It may only mean the battery needs time before the console can boot.
Do not play while testing this. Do not attach extra accessories. Let the console charge in sleep mode if possible.
| Charging Method | Use It for Testing? | Why |
| Direct wall outlet | Yes | Cleanest power test |
| Dock charging | Later | Dock may be the problem |
| Laptop USB-C port | No | Often too weak |
| TV USB port | No | Not reliable for Switch |
| Power bank | Not first | Adds another variable |
4. Use the Official Nintendo Switch AC Adapter
The original Nintendo Switch AC adapter is the safest first choice. Check the model number on the adapter. For Switch, Switch Lite, and Switch OLED, the official adapter is HAC-002.
Some phone chargers may charge the console slowly in handheld mode. Others may not work well at all. A weak or low-quality adapter can make the Switch look broken when the charger is the real problem.
Also check the adapter for physical damage. Look for:
- Frayed cable covering
- Bent USB-C tip
- Loose connector
- Deep kinks in the cable
- Burn marks or strange smell
If the adapter is damaged, stop using it. Do not tape it and keep going. A damaged charger is not worth the risk.
| Adapter Check | Good Sign | Bad Sign |
| Model number | HAC-002 | Unknown or fake-looking label |
| Cable body | Smooth and firm | Frayed, split, or kinked |
| USB-C tip | Straight and snug | Bent or loose |
| Charging result | Battery icon appears | No response on console |
| Heat | Slight warmth | Hot, smell, or discoloration |
5. Inspect the USB-C Charging Port
The USB-C port is one of the most important parts of the Switch. If it is blocked, loose, or damaged, the console may not charge.
Turn the console off. Use a bright light and look inside the charging port. You are checking for dust, lint, bent metal, corrosion, or anything stuck inside.
Do not jam a metal pin into the port. Do not spray liquid cleaner into it. If you see dust, use gentle air or a soft, dry cleaning tool. If you see bent metal, stop. That is a repair job.
A damaged port may show these signs:
- Charger only works at one angle
- Cable feels loose
- Charging starts and stops
- No charging icon appears
- Dock mode fails even when handheld charging works
This is where many people make the problem worse. Be careful. The port is small, and rough cleaning can break it.
| Port Symptom | Likely Cause | Safe Action |
| Cable wiggles badly | Loose or worn port | Get repair advice |
| Dust inside | Lint buildup | Clean gently and dry |
| Bent metal visible | Physical damage | Stop and service it |
| Charges at an angle | Port or cable issue | Test another official adapter |
| No icon at all | Port, adapter, or board issue | Continue testing |
6. Test the Dock, Cable Order, and TV Setup
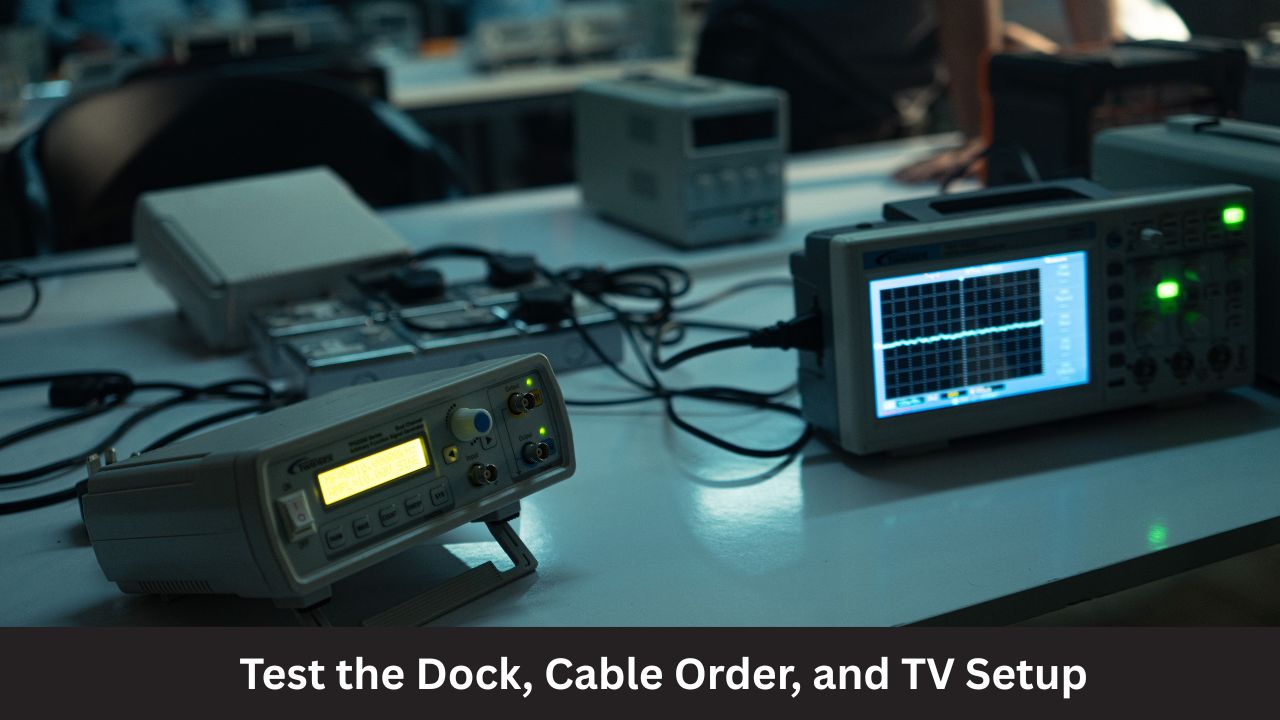
If your Switch charges directly but not in the dock, the console may be fine. The dock setup may be the issue.
Start fresh. Unplug every cable from the dock. Remove the console. Unplug the AC adapter from the wall and dock for 30 seconds.
Then reconnect in this order:
- Plug the AC adapter into the dock.
- Plug the AC adapter into the wall outlet.
- Connect the HDMI cable to the dock and TV.
- Place the Switch into the dock.
Make sure the console sits fully in the dock. A thick case can block the USB-C connection. Remove the case and try again.
Also remember this: the dock light is not a simple charging light. It mainly relates to TV output. So do not rely only on the dock LED to decide whether the console is charging.
Nintendo Switch Lite owners should skip this step. Switch Lite cannot be inserted into the dock for TV mode.
| Dock Problem | Possible Cause | Fix |
| Charges handheld, not docked | Dock connection issue | Reconnect cables |
| Dock light flashes briefly | Normal behavior may occur | Check console battery icon |
| No TV output | HDMI or dock issue | Reconnect HDMI and power |
| Case blocks dock | Poor USB-C contact | Remove case |
| Switch Lite issue | Not dock-compatible | Charge directly only |
7. Update the System and Fix Wrong Battery Readings
Not every battery issue is a charging failure. Sometimes the Switch charges, but the battery percentage lies.
You may see 1% battery and still play for hours. Or the percentage may drop too fast after a full charge. That points to a battery indicator problem, not always a bad battery.
First, update the system:
- Go to System Settings.
- Scroll to System.
- Select System Update.
If the battery indicator is still wrong, recalibration may help. The basic idea is to fully charge the console, let it sit connected a little longer, drain it close to empty, power it off, and repeat the cycle several times.
This process takes patience. It does not fix the display instantly. It improves the reading gradually.
This Nintendo Switch Won’t Charge: 8 Quick Fixes guide includes this step because many users confuse a wrong percentage with a dead battery.
| Symptom | What It May Mean | What to Try |
| Stuck at 1% | Battery meter error | Update and recalibrate |
| Drops fast but still runs | Display mismatch | Observe real playtime |
| Shuts off quickly | Weak battery or issue | Fully charge and test |
| Won’t reach 100% | Adapter, battery, or software issue | Charge several hours |
| No improvement | Hardware problem | Consider service |
8. Know When the Switch Needs Repair
Some problems will not be solved at home. That is frustrating, but it is better than damaging the console further.
Your Switch may need service if:
- No charging icon appears after the adapter reset and direct wall charging.
- A known working official adapter does not charge it.
- The USB-C port is bent, loose, or damaged.
- The console only charges at a strange angle.
- The battery drains far below the expected range after a full charge.
- The console gets unusually hot while charging.
- There are signs of liquid damage.
Do not open the Switch just to “check the battery” unless you have repair experience. The battery is built in. The port is soldered. A quick DIY attempt can turn a repairable issue into a dead console.
If your Switch is under warranty, contact Nintendo support first. If it is out of warranty, use a trusted repair shop that has experience with Nintendo Switch USB-C ports and battery issues.
| Repair Sign | Why It Matters | Best Move |
| Bent USB-C pins | Port may be damaged | Professional repair |
| No icon with good adapter | Internal fault possible | Service request |
| Hot while charging | Safety risk | Stop charging |
| Battery dies very fast | Battery aging or fault | Battery/console service |
| Liquid damage | Corrosion risk | Repair inspection |
Common Causes of Nintendo Switch Charging Problems
A Switch charging issue usually comes from one of five places: the adapter, the outlet, the dock, the USB-C port, or the battery.
The fastest way to find the cause is to remove variables. Test the console directly with the official charger. Then test the dock. Then check the battery behavior.
| Cause | Common Sign | Quick Test |
| Dead battery | Black screen, tiny icon | Charge for 30 minutes |
| Frozen console | Won’t wake up | Hold POWER 20 seconds |
| Bad adapter | No icon at all | Test another official adapter |
| Dock problem | Charges handheld only | Charge directly |
| Dirty/damaged port | Loose cable | Inspect USB-C port |
| Battery age | Short playtime | Compare expected duration |
How Long Should a Nintendo Switch Take to Charge?
A Nintendo Switch usually takes about 3 hours to fully charge when powered off or in sleep mode. Charging can take longer if you are playing at the same time.
Battery life depends on the model and the game. A demanding game drains power faster than a light indie game or menu browsing.
Here is the rough range:
| Model | Approximate Battery Life |
| Nintendo Switch HAC-001, older model | 2.5 to 6.5 hours |
| Nintendo Switch HAC-001(-01), newer model | 4.5 to 9 hours |
| Nintendo Switch Lite | 3 to 7 hours |
| Nintendo Switch OLED Model | 4.5 to 9 hours |
If your console charges to 100% but dies far below these ranges every time, the battery may be worn or faulty.
FAQs About Nintendo Switch Charging Problems
Why does my Switch show a battery icon, then go black?
That can happen when the battery is almost empty. The console may briefly show a charging symbol, then keep the screen off while it gathers enough power. Leave it connected to the official adapter for at least 30 minutes before trying again.
Can I charge my Nintendo Switch with a phone charger?
Sometimes, but it is not the best troubleshooting choice. A phone charger may be too weak or may charge slowly. For testing, use the official Nintendo Switch AC adapter or a properly licensed compatible charger.
Why does my Switch charge directly but not in the dock?
The dock, cable order, case fit, or dock power connection may be the problem. Remove the case, unplug the dock fully, reset the adapter, and reconnect everything in the correct order.
Is the green dock light a charging light?
No. Do not treat it as a clear battery-charging light. The dock light is tied to TV output behavior. Check the battery icon on the console instead.
Can Nintendo Switch Lite charge in a dock?
No. Nintendo Switch Lite does not support the Nintendo Switch dock. Charge it directly with the AC adapter.
Why is my Switch stuck at 1% even though it still works?
The battery indicator may be wrong. Update the system first. If needed, recalibrate the battery display by fully charging, draining, powering off, and repeating the process several times.
Is it safe to leave the Switch charging overnight?
It is usually fine to charge modern electronics normally, but heat is the real enemy. Keep the console on a hard, open surface. Do not charge it under a pillow, blanket, or inside a hot bag.
When should I stop trying fixes?
Stop if the USB-C port looks bent, the console gets hot, the charger smells burnt, or there is liquid damage. At that point, charging it again may make things worse.
Final Thoughts
A Nintendo Switch that will not charge is annoying, but it is not always a disaster. Start with the easy wins: reset the adapter, force shut down the console, charge directly from the wall, and give a drained battery enough time.
Then move to the charger, dock, USB-C port, and battery indicator. If those steps fail, do not force it. A damaged port or weak battery needs proper repair.
Use this Nintendo Switch Won’t Charge: 8 Quick Fixes checklist before you panic or replace the console. In many cases, the fix is simpler than it looks.


